
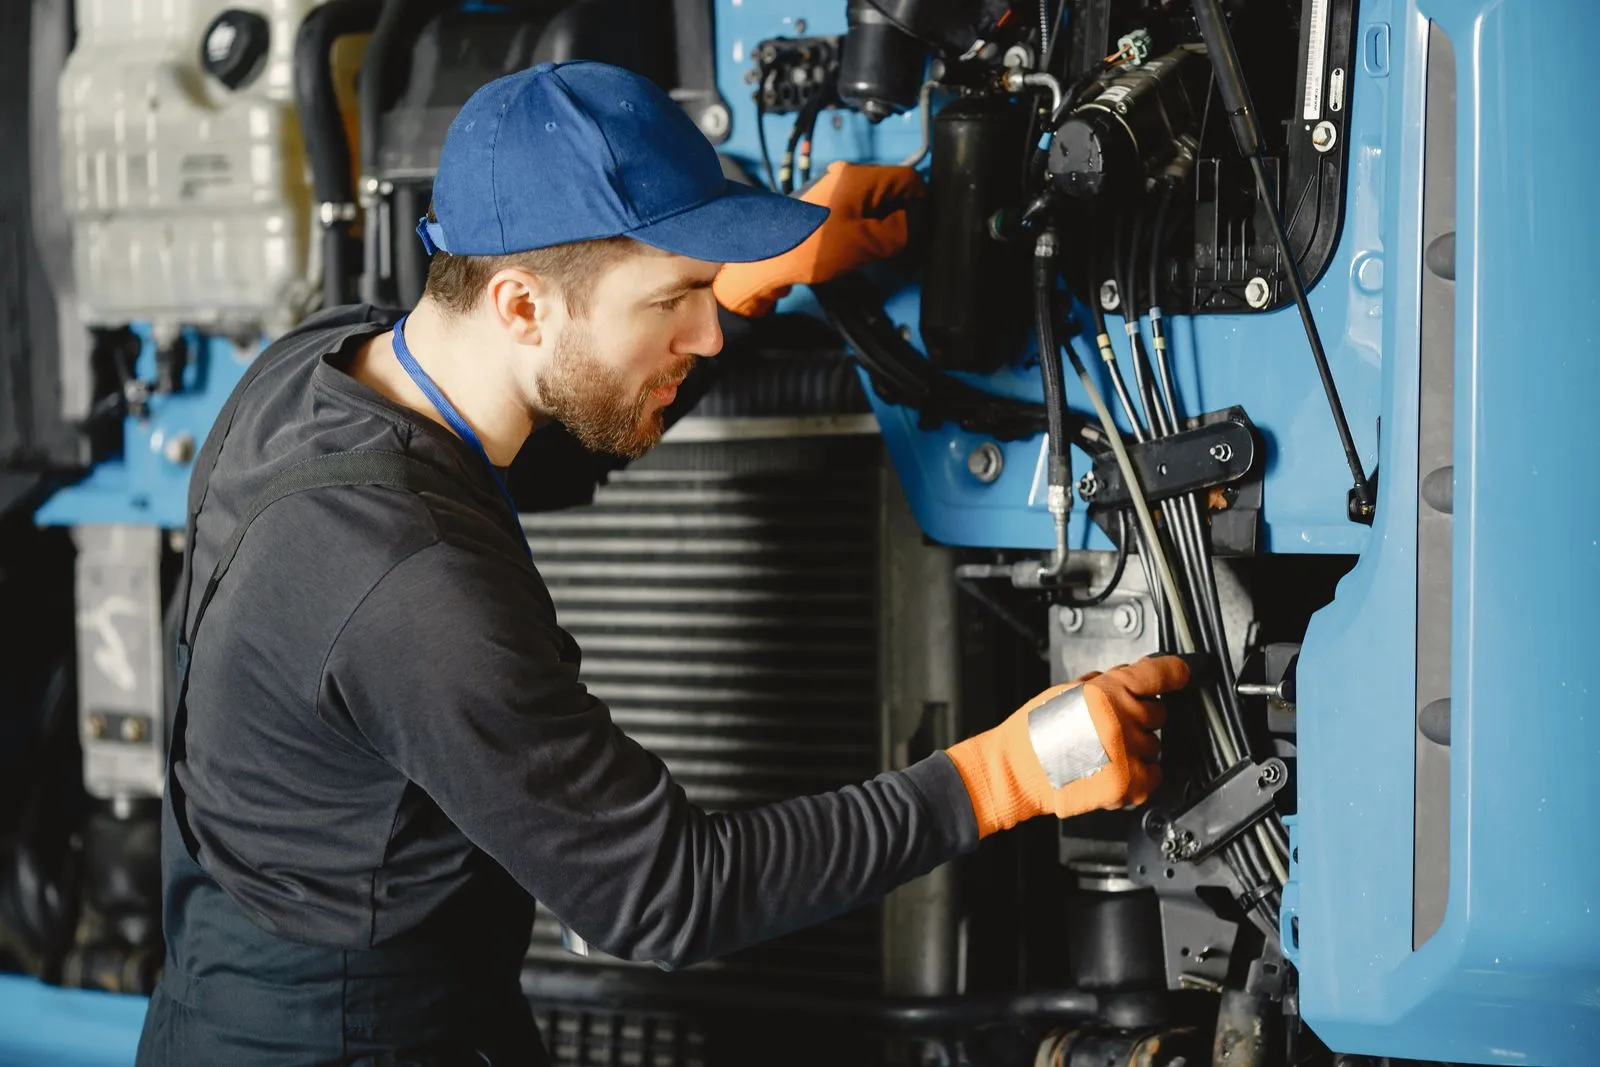
A completed repair does not automatically mean a vehicle is ready for its next job. Before releasing it, confirm that the original issue has been addressed and that the vehicle operates safely under ordinary conditions. A consistent post-repair checklist helps fleet managers catch missed problems, document what was checked, and give drivers clear instructions. Use the checks below alongside the repair order and the vehicle manufacturer’s guidance. If anything seems unsafe or unclear, keep the vehicle out of service until it is assessed.
Confirm the Repair and Safety Items
Review the repair order before starting the inspection. Confirm which work was completed, whether any parts or systems still need attention, and whether the technician noted follow-up work. Check that tools, protective covers, and loose components have been removed from the vehicle. Look around the repair area for leaks, disconnected wiring, unsecured hoses, or parts that appear out of place.
Check safety-critical items related to the repair and the vehicle’s intended use. Inspect tires for visible damage and confirm they appear properly inflated; verify that wheels are secure if they were removed. Test the brakes, steering, seat belts, mirrors, lights, and windshield wipers as appropriate. Do not return the vehicle to service if a safety system behaves abnormally or a warning remains unexplained.
Check Fluids and Look for Leaks
Park on level ground and follow the owner’s manual for checking fluid levels. Depending on the vehicle, inspect engine oil, coolant, brake fluid, transmission fluid, and washer fluid. Use the correct procedure and observe any temperature or waiting-time instructions. Record levels that are low, unusual, or difficult to verify rather than topping up with an unconfirmed fluid.
Look beneath the vehicle and around the components involved in the repair for fresh drips, damp areas, or residue. A small leak can become a roadside problem, especially if it affects oil, coolant, fuel, or brake fluid. If you find a leak, smell fuel, or see a rapid drop in a fluid level, stop the inspection and arrange a qualified assessment before the vehicle is driven.
Check Warning Lights and Controls
Turn the ignition on and observe the dashboard. Many warning indicators illuminate briefly during the system check, then switch off after the engine starts. Note any light that stays on, flashes, or appears unexpectedly. A warning light that was present before the repair may need a scan or further diagnosis; do not assume it has cleared just because the vehicle starts.
Test the controls and equipment relevant to the repair, including the horn, dashboard switches, climate controls, and any fleet-specific equipment. Confirm that doors, cargo restraints, and safety barriers latch securely. If a warning appears only after the vehicle moves, record when it happens and what the vehicle was doing. Share that detail with the technician rather than clearing or ignoring the warning.
Test Basic Operation and Record Results
Start the vehicle and listen for unusual knocking, grinding, squealing, or persistent rattling. Check that the engine idles steadily and that the brake pedal, steering, and gear selection feel normal. If the vehicle passes those checks, conduct a short, controlled drive in a safe area when permitted. Test acceleration, braking, turning, and reversing gently, and stop if you notice pulling, vibration, reduced power, or unusual smells.
Record the inspection date, odometer reading, repair completed, checks performed, and any remaining concerns. Note who approved the vehicle’s return and tell the assigned driver about relevant follow-up work or operating instructions. Keep the vehicle out of service if the repair result is uncertain, a safety concern remains, or a warning light persists. A clear record gives the next person responsible for the vehicle a useful starting point.
A careful release check connects the repair to the vehicle’s real-world operation. Confirm the safety items, inspect fluids, watch the dashboard, and test the vehicle in a controlled way. Document what you find and hold the vehicle if any concern remains. For a repair that needs further diagnosis, contact Christchurch Fleet Care to discuss next steps.